Guide for Accessible Presentation Slides and Posters
Please take the following steps to ensure your presentation slides or poster are accessible to all people, including those who have low-vision or use screen readers. For detailed guidance on these topics, please refer to the accessibility resources below.
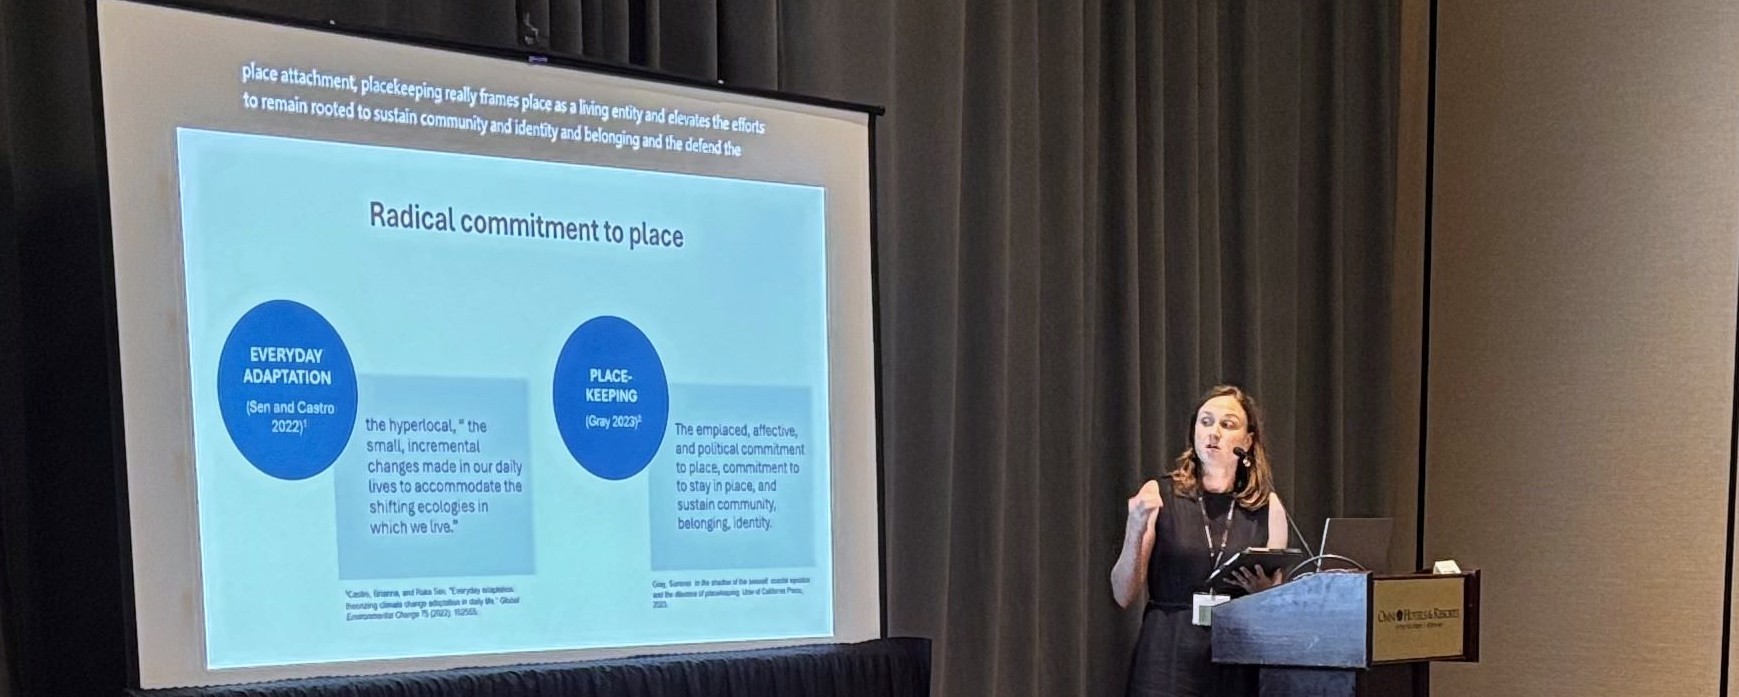 Photo from the 2025 Researchers Meeting, courtesy of Rosie Lin.
Text
Font style. Use a simple and familiar typeface. Sans serif-fonts, such as Arial, Calibri, or Helvetica, are often recommended for readability. Use bolding, italics, and uppercase text sparingly.
Text Size. Use a readable text size. What is readable will vary depending on room size and set up, audience size and viewing locations, and whether you doing a presentation or poster.
For presentations, people in the back of the room should be able to read all slide text. Accessibility guidance suggests using a minimum of 24-point font for text in presentations.
For posters, people should be able to read the text from 3 to 5 feet away. See the rule of thumb for poster text sizes.
Colors
Using vibrant colors can help make your presentation or poster engaging and highlight certain aspects. However, it’s important to choose high contrast colors that are accessible to people with color-blindness or low vision. Below are some general guidelines; see the resources section for details.
Contrast. Make sure you have sufficient contrast between background colors and text colors by using a contrast checker, such as WebAim’s Contrast Checker or Vispero’s Colour Contrast Analyser. In general, light backgrounds and dark texts are more readable.
Avoid relying solely on color to convey meaning. If your presentation or poster has graphs, charts, maps, or other visuals which use color to explain something, you should provide that same information in another way. Options for doing so include annotating the image or adding styles or contrasts to further differentiate colors.
Screen Reader Accessibility Steps
Screen readers convert the content of your presentation or poster—the text, images, tables, and organizational structure—into speech or braille, allowing people who are blind or have low vision to access what is displayed on the screen. Take the following steps to make your slides compatible with screen readers.
Use slide layouts. Using pre-formatted slide layouts helps ensure that each slide in your presentation has a title and the correct heading structure and reading order. Pre-formatted slide layouts automatically indicate to screen readers which text box is the slide’s title, and should be read first, and arrange content placeholders in order. If you do not use a pre-formatted slide layout, you will need to manually add slide titles and arrange the content using the reading order tool.
Define reading order. Use the reading order tool to ensure the screen reader reads the slide title and content in order. When you add, remove, or rearrange content placeholders on a slide, the reading order will change and is likely to have mistakes. The reading order tool allows you to check the current order that the content will be read by the screen reader and make adjustments. In some software, you will need to make sure bullet points are ordered correctly.
Provide slide titles. Slide titles are like headings in a paper: they break up the content of your presentation into meaningful chunks. Slide layouts automatically insert a title placeholder, but you can also add and edit titles manually. If you do not want a slide title to appear on the slide but still want it to be available for a screen reader, you can move it off the slide or match the font color with the background. Use outline view to check that each slide has title and add missing titles. The accessibility menu also usually has a button for adding a slide title.
Explain images with alternative “alt” text. Make sure any figures or images—including charts or graphs—are described using alt text. Alternative text should be concise, useful to the reader, and avoid repeating content that is in other text boxes, such as image captions. Read WebAIM’s helpful alternative text guide for more information.
Designate any shapes or images as “decorative” that do not need to be read. Some shapes or images are added to the presentation for cosmetic reasons and do not convey meaning. These items do not need alternative text and should be tagged as “decorative” in the reading order.
Tables. If your slide has a table, be sure to identify the row and column header. Read WebAIM’s guidance for doing so in PowerPoint. Microsoft also has helpful guidance on creating accessible tables in Word that is applicable to other presentation software.
Embed captioned videos. If you choose to embed a video into your presentation, ensure that the video has captions and that they are enabled.
Add slide numbers. For presentations with multiple slides, slide numbers help ensure that the presentation is viewed in the appropriate order and improve usability.
Do accessibility checks and resolve issues. Most software has built-in accessibility checkers that will flag issues to correct.
Important Information for the 2026 Workshop
For the 2026 Workshop and Researchers Meeting, please use PowerPoint or Google Slides for your live presentation. Auto-captioning capability will be set up in each room, which will ensure automated captions appear on the screen as people present. To ensure it is functioning properly, enable the “always use subtitles” setting in your presentation software.
As of April 2026, only Microsoft PowerPoint and Google Slides have an auto-caption setting available. We ask that you use one of these programs to present your slides for this reason. You may use another software, such as Canva, to create your presentation and then export it to either PowerPoint or Google Slide formats. PDFs are not compatible with auto-captioning. Do not use a PDF of your slides during a live presentation.
To enable the “aways use subtitles” setting in PowerPoint, see Microsoft’s step-by-step guidance. If using Google Slides, watch this short video on how to enable closed captions.
Accessibility Steps for Live or Recorded Presentations
Below are additional steps you can take to improve the accessibility of your live or recorded presentation.
Keep transitions and animations simple. If using animations to transition from one slide or content box to another, choose simple options like “appear,” which are preferred over more complex animations that can be distracting.
Enable closed captions. Closed captions or subtitles are text that appears alongside a slide that capture what the speaker is saying as they present. These can be captured live through someone transcribing audio or through automated voice to text software. However, specific settings must be selected for this feature to operate.
Use captioned videos. If you show a video during your presentation, ensure that the video has captions and that they are enabled.
Exporting to Portable Document Format (PDF)
As a speaker or poster presenter, you will be asked to submit a digital PDF version of your presentation slides or poster to share on the Workshop app and archive on our website.
To convert your file to PDF, take the following steps:
Make the source document accessible. Fixing accessibility issues once documents are in PDF formats can be challenging. Before converting your presentation slides or poster to a PDF, use the source software’s accessibility tools and checker to fix any issues.
Save as PDF. To retain the accessibility features in your source document, save the document as a PDF. Do not use the “print as PDF” option to save as doing so can lead to loss of the reading and slide order structure, alternative text, and other accessibility and design features.
Resources
Accessibility Overviews
- Creating accessible materials for people with visual or auditory disabilities, by Mary Angelica Painter, Candace Evans, Melissa Villareal, and Carson MacPherson-Krutsky
- Accessibility guidelines, by National Disability Rights Network
- Introduction to web accessibility, by WebAIM
- Academic poster resources: Accessibility, by Yale Library
Understanding and Testing Color Contrast
- Contrast checker, by WebAIM
- Colour Contrast Analyser (CCA), by Vispero
- How to pick more beautiful colors for your data visualizations, by Lisa Charlotte Muth
Designing for People With Color Blindness
- Coloring for colorblindness, by David Nichols
- Designing for color blindness, by WebAIM
- Designing Maps for Colorblind Readability, by Stephanie Oliver, ArcGIS Blog
- Coblis—Color blindness simulator, by Colblindor
Screen Reader Accessibility
- Alternative text, by WebAIM
- Accessible PowerPoints, by WebAIM
- Usability and digital accessibility: PDFs and documents, by Yale University
- Accessible PDFs, by WebAIM
- PDFs: Review and repair order, by WebAIM
Questions and Further Guidance
If you have comments about this guidance or questions about making your Natural Hazards Workshop presentation or poster accessible, please email us at workshop@colorado.edu.